
Often encountered business scenarios is a number of units share a cloud server, then the use of the database is used separately, after all, given the limited resources, then at this time the need for stand-alone Mysql multiple instances to solve the problem.
1、Creating a Mysql User Account
Multiple examples of databases can be created with different accounts and passwords, so here’s a simple example of a mysql user
groupadd mysqluseradd -g mysql -M -s /sbin/nologin mysql2、Download Mysql and install it
下载地址https://downloads.mysql.com/archives/community/
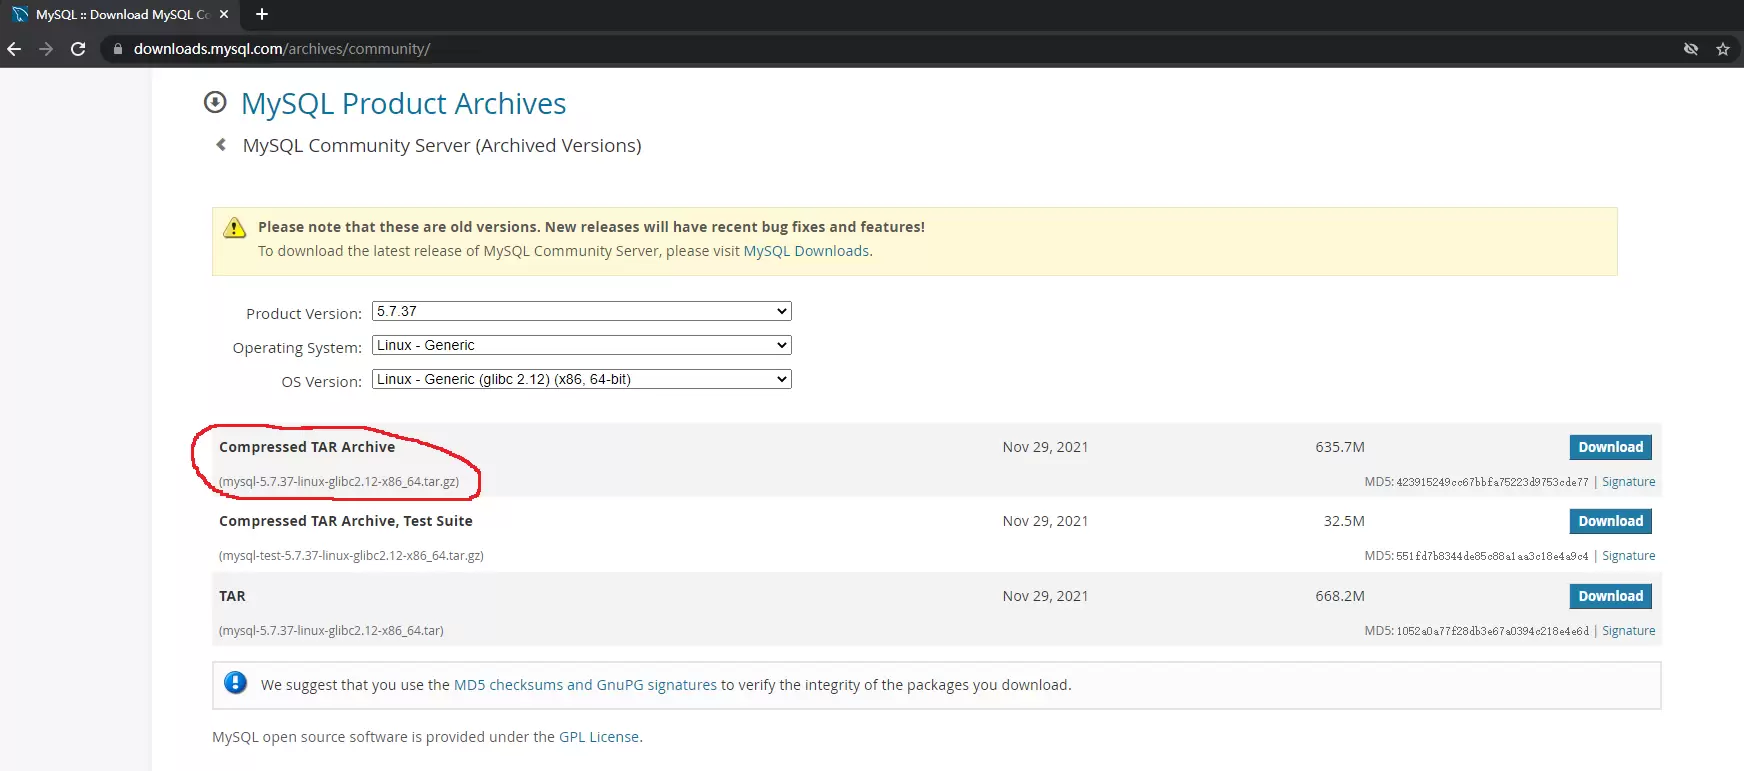
Unzip the binary file and move it to the specified directory
tar -xvf mysql-5.7.37-linux-glibc2.12-x86_64.tar.gzmv mysql-5.7.37-linux-glibc2.12-x86_64 /usr/local/mysql3、Creating configuration files and data directories
Create three data directories
mkdir -pv /data/{3006,3007,3008}/datatree /data//data/├── 3306│ └── data├── 3307│ └── data└── 3308 └── dataCreating Configuration Files
/data/3306/my.cnf
/data/3307/my.cnf
/data/3308/my.cnf
The my.cnf configuration reads as follows
[mysql]default-character-set = utfeport = 3306socket = /data/3306/mysql.sock
[mysqld]user = mysqllog-bin = mysql-binport = 3306
socket = /data/3306/mysql.sockbasedir = /usr/local/mysqldatadir = /data/3306/data
character-set-server = utf8
pid-file = /data/3306/mysql.pidrelay-log = /data/3306/relay-binrelay-log-info-file = /data/3306/relay-log.info
# Server IDserver-id = 1
# gtidgtid_mode = onenforce-gtid-consistency = true
log-slave-updates = on
skip_slave_start = 1
# Record relay.info into the data tablerelay_log_info_repository = TABLE
# Record master.info into the data tablemaster_info_repository = TABLE
[mysqld_safe]log-error = /data/3306/mysql_3306.errpid-file = /data/3306/mysqld.pid⚠️ 注意 Copy to the other two instances, pay attention to modify port 3307, 3308, and pay attention to server-id number> to be staggered
4、Authorization and Initialization
Add Mysql data directory user permissions
chown -R mysql:mysql /data
Multiple Instance Initialization
cd /usr/local/mysql/bin./mysqld --initialize --basedir=/usr/local/mysql --datadir=/data/3306/data --user=mysql./mysqld --initialize --basedir=/usr/local/mysql --datadir=/data/3307/data --user=mysql./mysqld --initialize --basedir=/usr/local/mysql --datadir=/data/3308/data --user=mysql
# The last line of the initialization printout ends with the MySql login password, remember to save it!5、Adding MySQL Environment Variables and Systemd Management
Adding MySQL Environment Variables
echo "export PATH=/usr/local/mysql/bin:$PATH" > /etc/profile.d/mysql.shsource /etc/profileAdd systemd management
cat > /etc/systemd/system/mysql-3306.service <<EOF[Unit]Description=MySQL ServerDocumentation=man:mysqld(8)Documentation=http://dev.mysql.com/doc/refman/en/using-systemd.htmlAfter=network.targetAfter=syslog.target
[Service]User=mysqlGroup=mysqlExecStart=/usr/local/mysql/bin/mysqld --defaults-file=/data/3306/my.cnfLimitNOFILE = 5000
[Install]WantedBy=multi-user.targetEOF
cat > /etc/systemd/system/mysql-3307.service <<EOF[Unit]Description=MySQL ServerDocumentation=man:mysqld(8)Documentation=http://dev.mysql.com/doc/refman/en/using-systemd.htmlAfter=network.targetAfter=syslog.target
[Service]User=mysqlGroup=mysqlExecStart=/usr/local/mysql/bin/mysqld --defaults-file=/data/3307/my.cnfLimitNOFILE = 5000
[Install]WantedBy=multi-user.targetEOF
cat > /etc/systemd/system/mysql-3308.service <<EOF[Unit]Description=MySQL ServerDocumentation=man:mysqld(8)Documentation=http://dev.mysql.com/doc/refman/en/using-systemd.htmlAfter=network.targetAfter=syslog.target
[Service]User=mysqlGroup=mysqlExecStart=/usr/local/mysql/bin/mysqld --defaults-file=/data/3308/my.cnfLimitNOFILE = 5000
[Install]WantedBy=multi-user.targetEOF6、Start and set up the boot-up service
systemctl start mysql-3306.servicesystemctl start mysql-3307.servicesystemctl start mysql-3308.servicesystemctl enable mysql-3306.servicesystemctl enable mysql-3307.servicesystemctl enable mysql-3308.service7、Logging in to the database
[root@localhost ~]#m mysql -S /data/3306/mysql.sock -u root -P 3306 -pEnter password:Welcome to the MySQL monitor. Commands end with ; or \g.Your MySQL connection id is 3Server version: 5.7.37-log MySQL Community Server (GPL)
Copyright (c) 2000, 2022, Oracle and/or its affiliates.
Oracle is a registered trademark of Oracle Corporation and/or itsaffiliates. Other names may be trademarks of their respectiveowners.
Type 'help;' or '\h' for help. Type '\c' to clear the current input statement.
mysql> show databases;ERROR 1820 (HY000): You must reset your password using ALTER USER statement before executing this statement⚠️ 注意 Note the login parameters
- -S is to use the socket
- -h is to use an IP, such as 127.0.0.1 or localhost
- -u is the login username
- -P is to specify the port number, if it is a single instance of the default do not need to add, multiple instances need to specify the port
- -p Enter the password parameters (note that they are case sensitive, the above is upper case P, this is lower case p)
Note that you need to change your password the first time you log in to MySQL, otherwise you will not have access to the database.
Modify the database user login password, followed by the above operation
mysql> set password for root@localhost = password( '123456' );Query OK, 0 rows affected, 1 warning (0.00 sec)
mysql>quitBye
# Logging in again to perform database operations works finemysql> show databases;+--------------------+| Database |+--------------------+| information_schema || mysql || performance_schema || sys |+--------------------+4 rows in set (0.00 sec)